You set your alarm for 5am, drag yourself to a Bali temple viewpoint, and the sunrise is spectacular. Your photos look nothing like what you saw. Flat, washed out, or weirdly orange. Golden hour photography isn't about being in the right place — it's about understanding the 20-minute window within the golden hour where the light actually performs, and having your camera set up before it arrives.
Scouting Your Shot 12 Hours in Advance
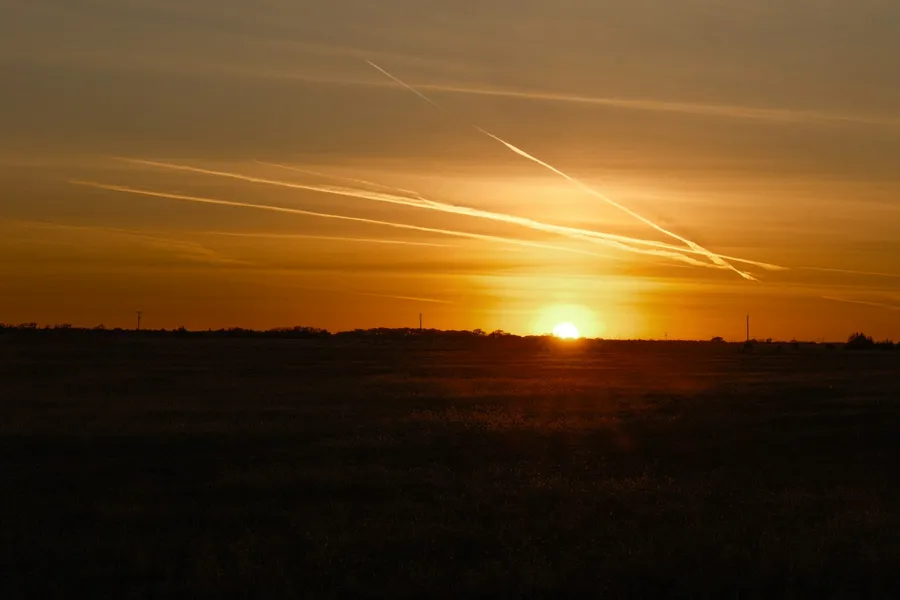
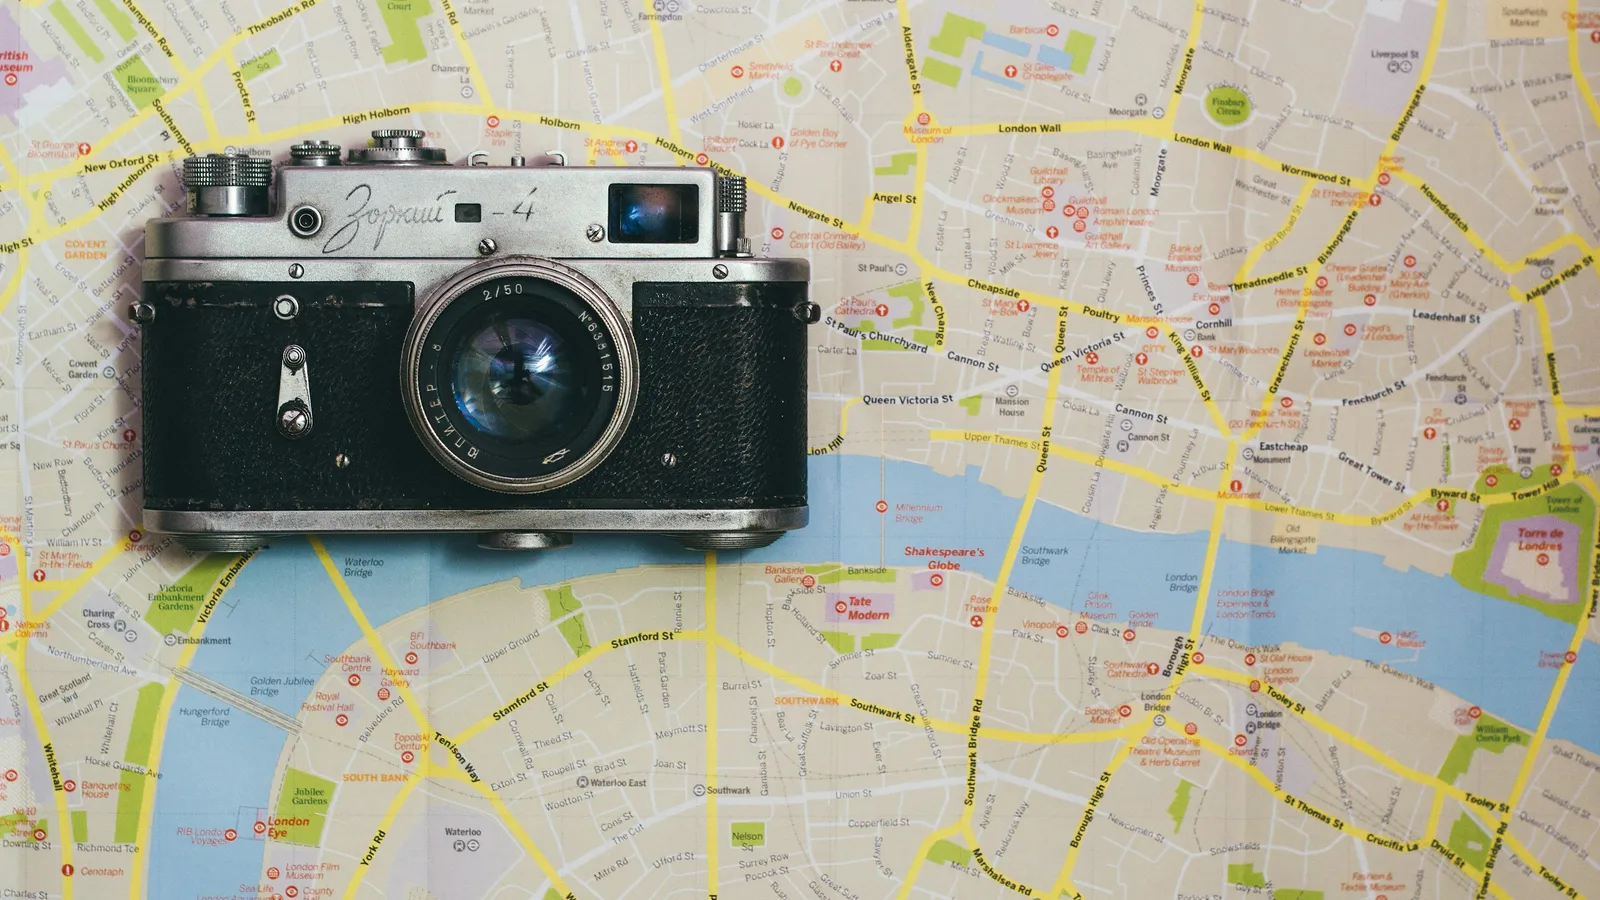
Visit your sunrise location the evening before and your sunset location that morning. This pre-scout lets you identify the exact spot where you'll stand, the composition you want, and any obstacles (fences, crowds, construction) that would ruin the moment at the critical time. At Angkor Wat, the famous reflecting pool viewpoint fills up by 5:30am — if you didn't scout it the afternoon before, you won't know to arrive by 5:15am and position yourself at the left edge where fewer photographers cluster. Use the PhotoPills app (one-time $12 purchase) to determine exactly where the sun will rise or set relative to your composition. In Santorini, the sun sets behind the caldera to the northwest — most tourists crowd Oia's castle viewpoint, but scouting reveals that the terrace below Oia's windmill offers a lower, unobstructed angle. The true golden window — when light is warm, directional, and shadows are dramatic — lasts about 20 minutes starting 10 minutes after sunrise or 30 minutes before sunset. Everything outside that window is either too dark or too harsh.
Find a travel companion who matches your style and budget
Download Roammate — FreeThe Camera Settings That Capture What Your Eyes See
Your camera's auto mode will ruin golden hour shots by trying to neutralize the warm tones that make them special. Switch to manual or aperture priority mode. Set your white balance to "Daylight" or "Cloudy" rather than Auto — this preserves the golden and pink tones that auto white balance corrects away. For sunrise landscapes at places like Mount Bromo in Java or Bagan's temples in Myanmar, shoot at f/8-f/11 for maximum sharpness across the frame, ISO 200-400, and let the shutter speed fall where it needs to. If it drops below 1/60s, brace your camera against a wall or railing rather than handheld. For silhouettes (temples, tree lines, people against the sky), expose for the bright sky and let the foreground go dark — meter off the sky by pointing your camera slightly upward, lock exposure, then recompose. Shoot in RAW if your camera supports it, because RAW files let you recover shadow detail and fine-tune the color temperature in Lightroom later without losing quality. Take 30-40 frames during the golden window, varying your composition slightly each time — the difference between a good shot and a great one is often a two-step shift to the left.